Getting Started: Natural Dyeing Tool Kit
Getting Started: Natural Dyeing Tool Kit
My journey with natural dyes began with the generous support and encouragement of others who shared their knowledge and expertise online. After 4 years of working with natural dyes, I’ve compiled my own list of essentials to help kickstart your own natural dye practice. Before diving in, it's important to note that there are only a few hard rules when it comes to natural dyeing. This is especially useful to know for those residing in rural areas like me, where you just have to make do with what you have. More often than not, grit, resourcefulness, and creativity emerge as the true MVPs in your natural dye toolkit.
1. A Dyeing Working Space
It’s important to have a place where you can store your dyeing materials, equipment, and actually dye your projects. This doesn’t have to be the same space every time (I dye in my garden during the summer months an in my garage during the winter), but keep in mind that your dyeing tools need to be kept clean and dry and only used for dyeing purposes. Your dyeing space needs to be accessible, easy to work in, and easy to clean! I have a metal iron rack specifically used for all my pots & tools and I dye on a 6ft folding table that I can easily clean and put away when not in use.
2. Dyestuff Storage
All the glass jam and pickle jars you’ve been saving are actually an ideal place to store all your dried dyestuff! Keep your jars at room temp (or colder) out of direct sunlight. Remember to label each one to avoid a dyeing disaster.
3. Stainless Steel Pots: Your Dyeing Vats
Your vat size depends on the type of dyeing you want to do. I believe it's good to have a variety for project flexibility. However, if you don’t have the storage space for multiple pots, I believe having a dye pot anywhere between 20 - 60 or an 80qt size is a great place to start! I do a lot of production dyeing where I’m scouring, mordanting and dyeing up to 100 pieces at once. I love my 200qt size vat for my big dyeing days. An 80qt pot is actually big enough to sit in to my nephews endless amusement!
Using stainless steel (Ceramic and enamel pots are great options too!) is important because most dyes are reactive and will change color depending on the type of metal/iron they come into contact with. For example, if you use cast iron, it will mute your colors significantly.
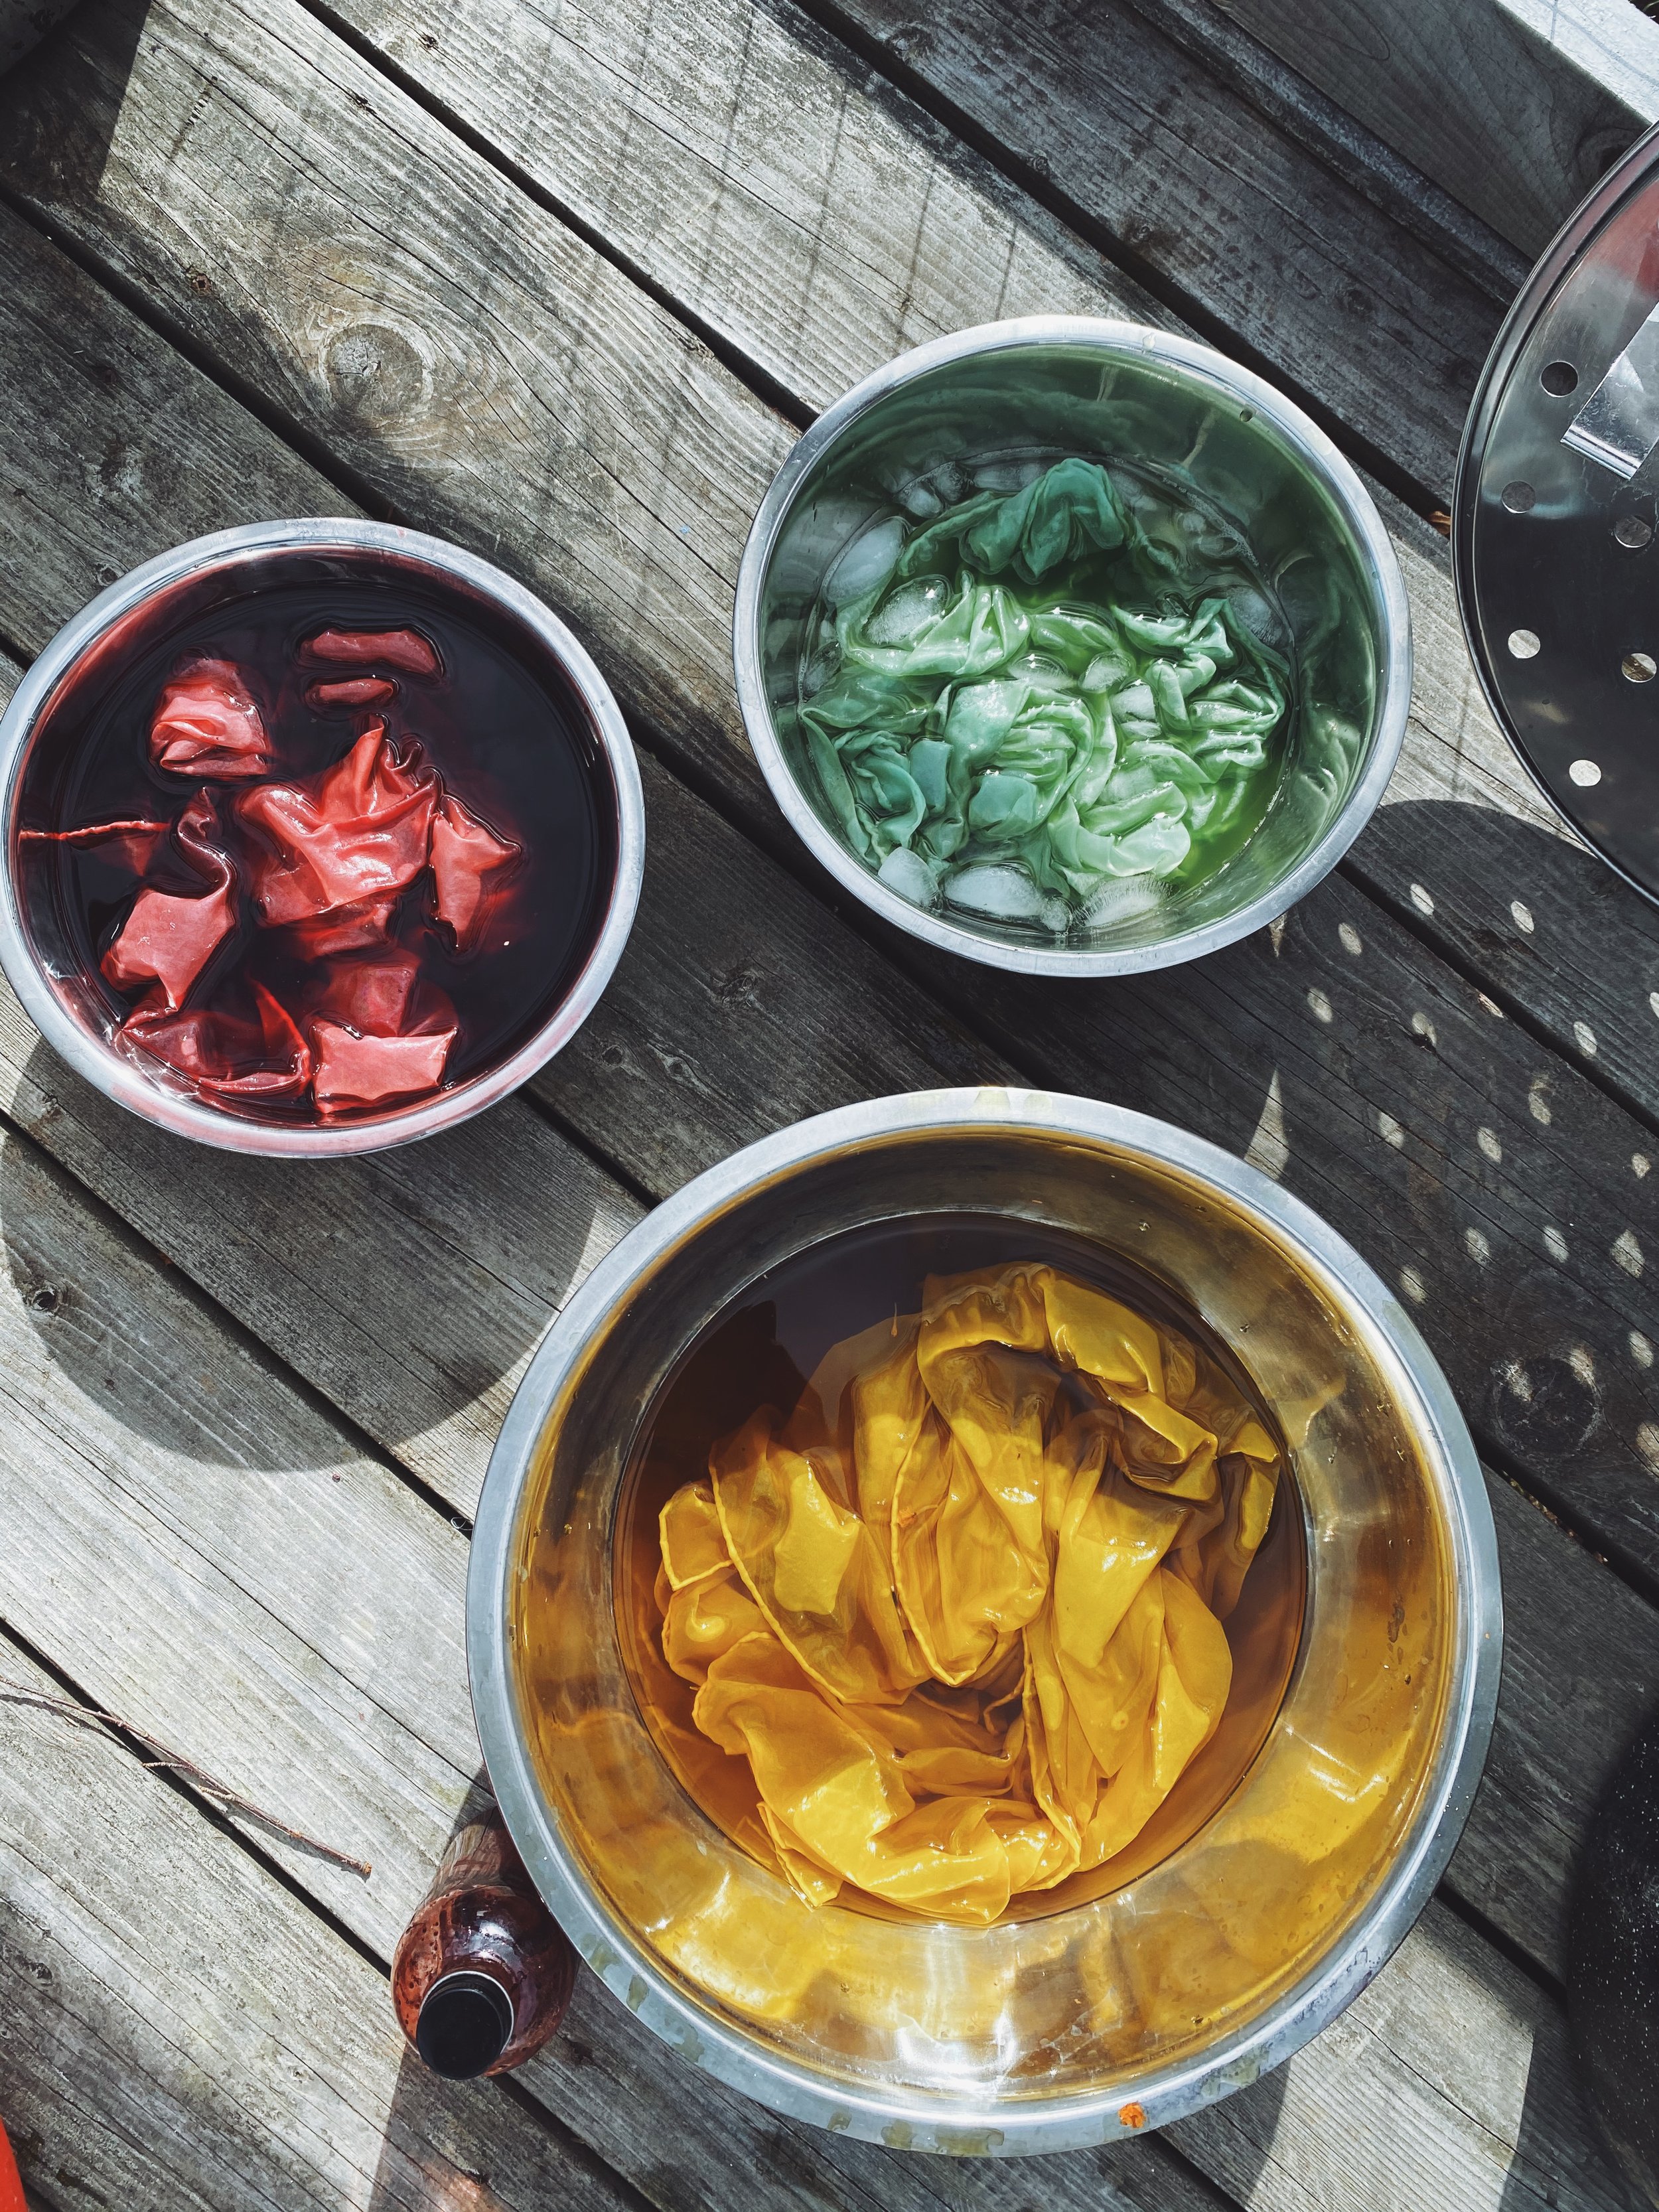
Example of how iron will mute your colors. Left is coreopsis with alum mordant, right is coreopsis with an alum mordant, and then dipped in an iron bath.
If you plan on using a lot of iron in your dye practice or just plan on doing a lot of indigo dyeing, it may be a smart idea to have a vat (and a whole set of utensils, listed below) set aside for iron or indigo dyeing.
It's also a good idea to have a few 5-gallon buckets on hand for quick overnight dye extractions, rinse buckets, water hauling, and tool storage.
4. Utensils and Solutions: Your Second Kitchen
The utensils you decide to use are completely up to you, but here is a list you can go off of when you're rummaging through your kitchen, thrifting, or stopping by your local home goods store. The only thing that is really important is that they become your “dyeing utensils” and are not used again in your kitchen. This will ensure there is no cross contamination and you can avoid potential harm to yourself.
Utensils:
Tongs - a few of different lengths
Scissors
Wooden Spoons
Stainless steel mixing spoons
Thermometer
Whisk
Steel wool (for cleaning)
Fine mesh sieve
Cheesecloth
Stainless Steel Mixing Bowls - a variety of different sizes
Measuring Cups
Measuring Spoons
Mortar & Pestle
Solutions:
pH neutral eco-friendly dish soap
White vinegar - for neutralizing all pots and tools after cleaning, mainly used on indigo dyeing tools
5. Weight & Measurement
You will need a scale that measures in grams, ounces, and fluid ounces. Most common kitchen scales have these features and you can find them easily at hardware stores and online.
6. Water & Heat Source
Wherever your dyeing station is, having a nearby water source is essential. I've learned the hard way, lugging water around, which I don't recommend. Make life easier by ensuring easy access to water. Rainwater, hose water, or clean spring water are suitable options. You can test hose water with a pH strip to avoid alkalinity issues. But it’s usually fine!
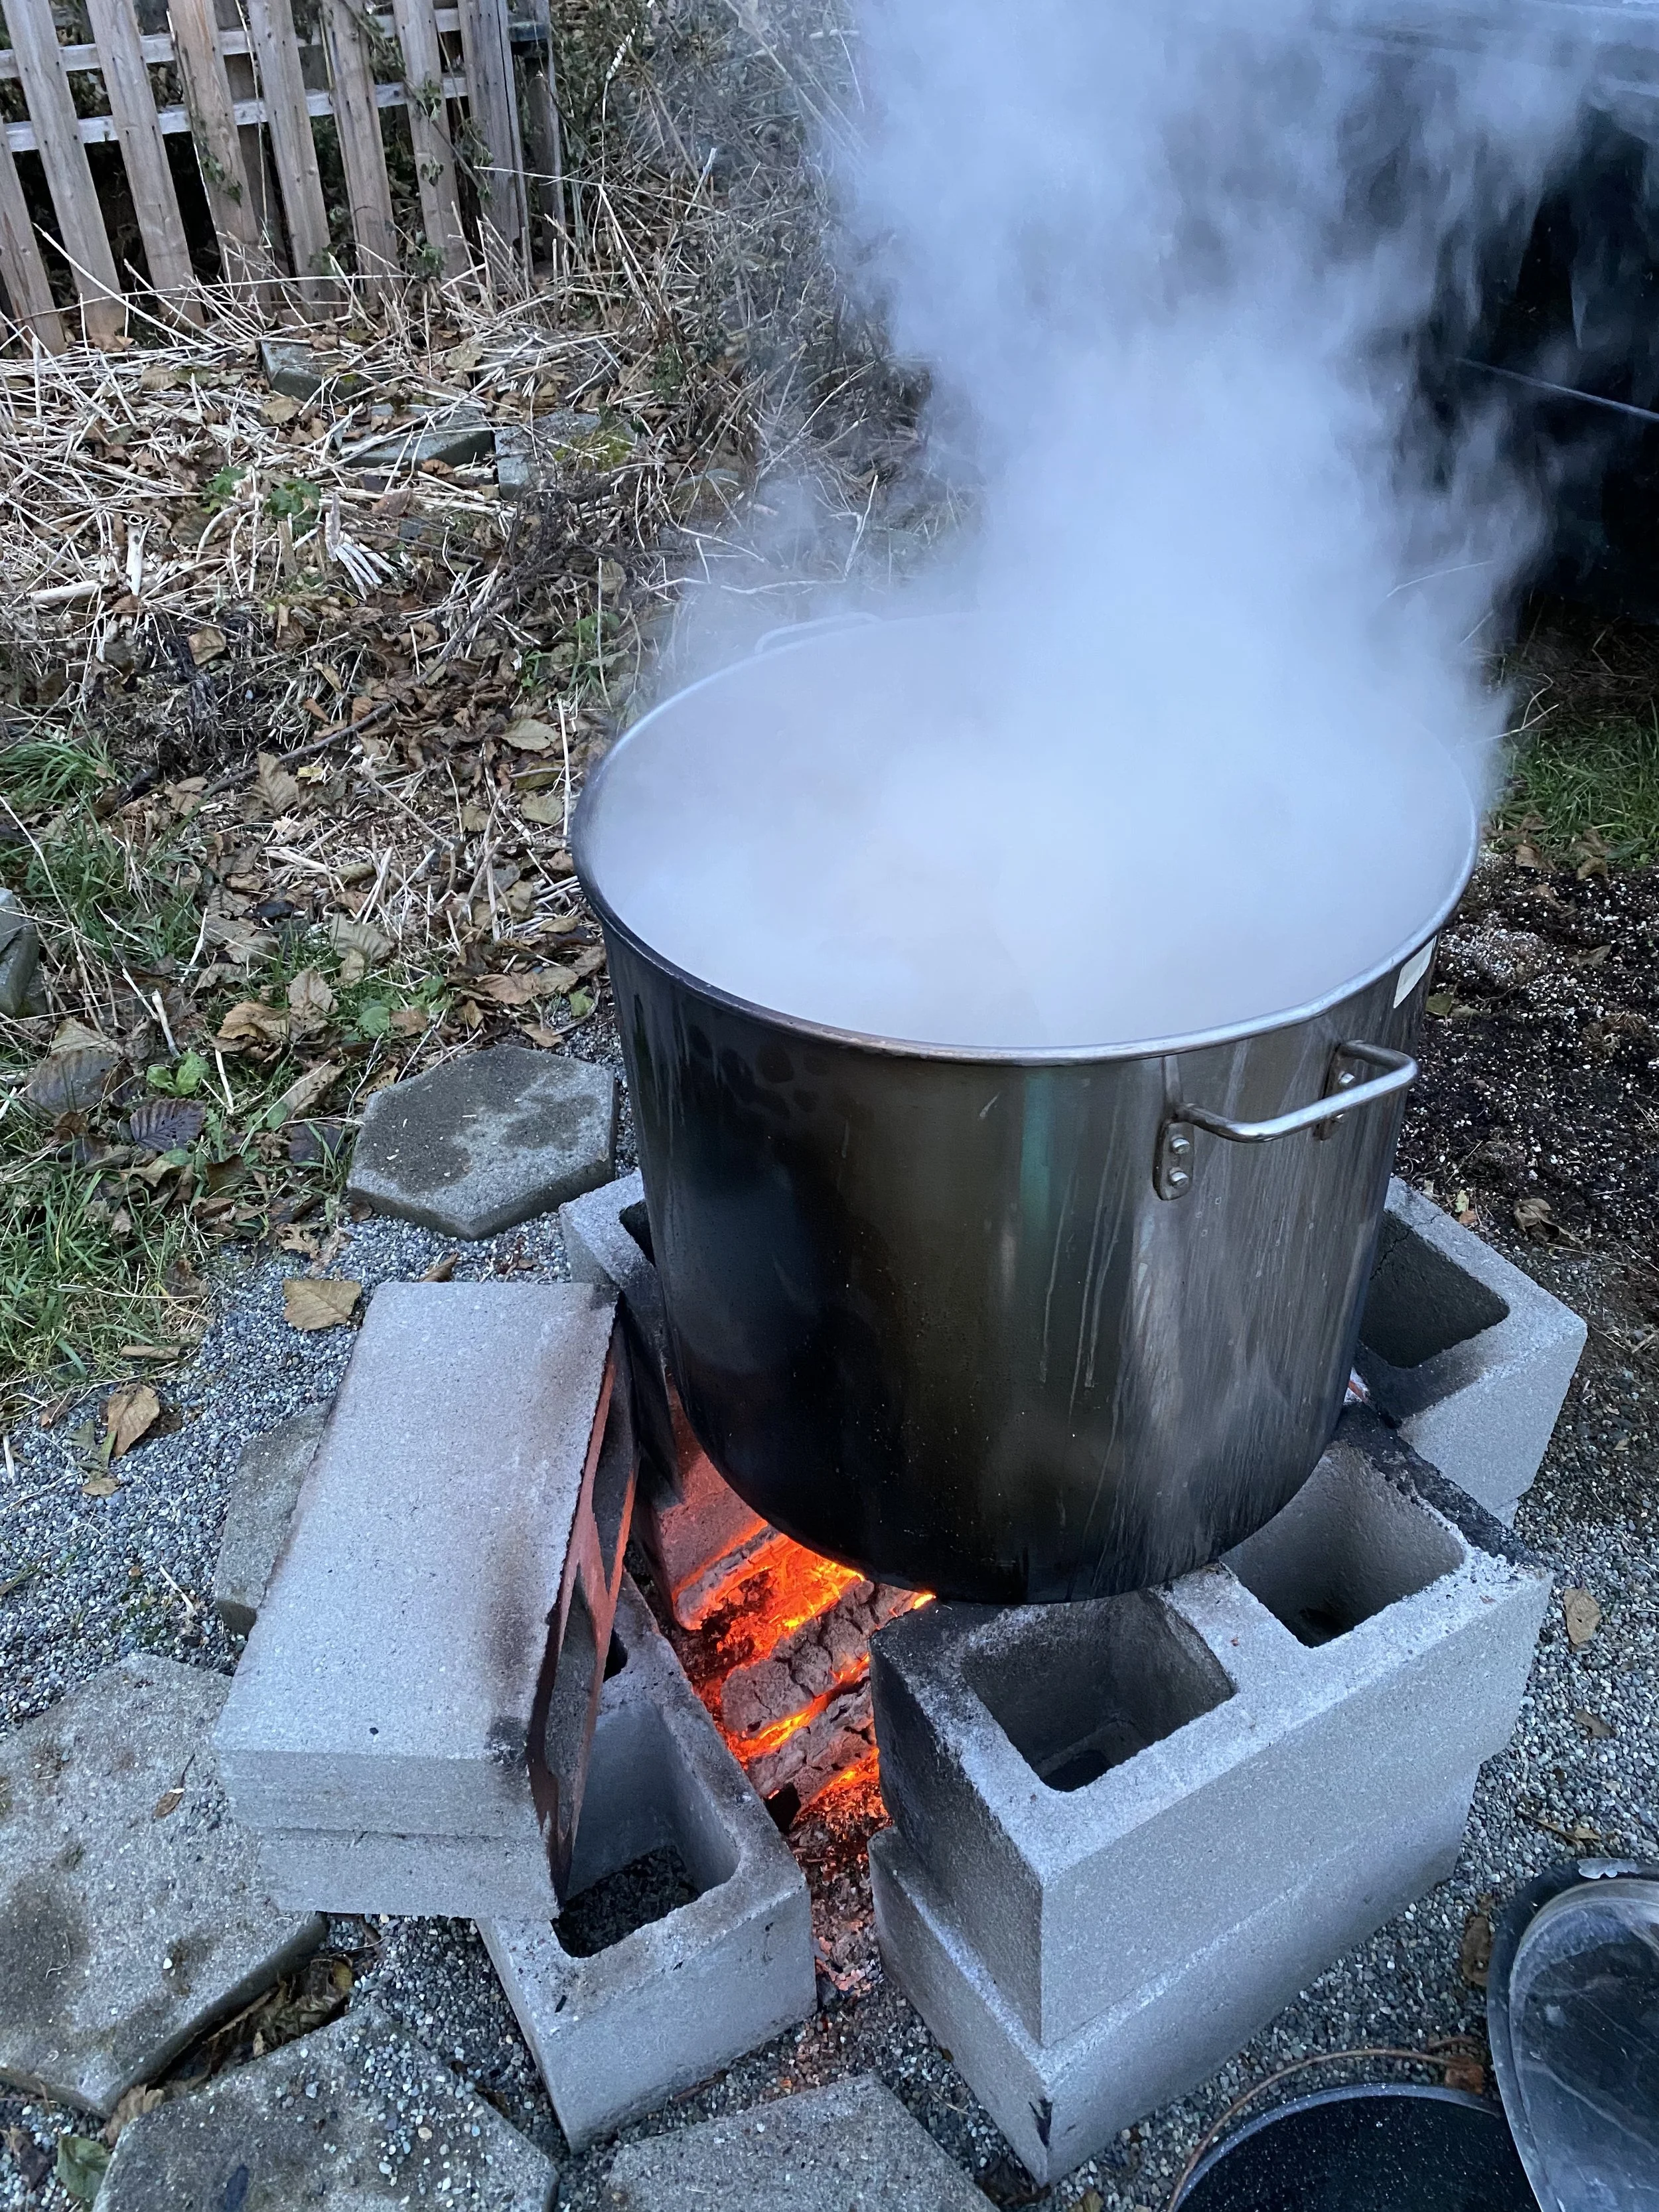
As for heating, it depends on factors like vat size and project. I use an open fire stove for my 200qt vat, saving me days worth of time. For smaller pots, I use an easy propane burner.
7. The Clothesline: Just like Grandma’s
You need a place to hang your freshly dyed pieces when they come out of the dye pot. It’s important to hang them by the corners and sides of the pieces. If you hang them over the clothesline, down the middle, you risk a line running through the middle of your piece (bottom right photo). You will also need clothespins. Wooden pegs work as well. Something to keep in mind is to keep the clothespins you use for indigo and other dyes separate from each other, because they are hard to clean completely.
8. Misc: Dyeing Odds & Ends
Masks for when you’re working with fine powders.
Rubber gloves for when you’re handling your cloth inside the vat, and also for indigo dyeing. Dish washing gloves work great!
Rubber boots. Dyeing is messy and you will 100% spill water, dye/indigo on your feet. Wear rubber boots; you’ll thank me later. Xtratuf legacy clogs are my current favorites.
Apron - for the same reason as above. I’ve ruined almost every pair of my jeans. Some dyers even have “dyeing clothes” that they only wear when working.
Headscarf or hair tie - You’ll want to keep your hair out of your face, especially if you have lighter hair, as some dyes will actually color your hair temporarily. I always wear a scarf or a hat when dyeing.
Rubber bands for bundle dyeing.


